Rainbow Phone Sock
After sewing a shirt for our dog, I wanted to make something from scratch without the help of printed patterns. Something I would use daily. A few weeks ago, I was putting my keys into my pocket, not realising that I also had my mobile phone in there. This ended up putting some scuffs and tiny scratches on my phone. So I figured what better way to protect my phone from stupid mistakes like these than to make my own phone "sock". I started out with a rough design sketch on a notepad and came up with this rainbow design of five coloured rows.

I have chosen those five colours because a week ago I bought a fat quarter bundle at a store that had exactly those colours. And I also like the colourful rainbow aesthetic. By the way, in case you didn't know, a fat quarter is made by cutting out a quarter of a 1m x 1.10m fabric. So you end up with a piece of fabric that is 50cm x 55cm in size.

I took measurements of my phone and made a simple prototype of the sock out of paper. This allowed me to verify my measurements without wasting any fabric.

I started by cutting little rectangular paper templates, which I would use as the pattern for my fabric pieces. I needed two rectangles of each colour, except for the bottom colour (purple), which just needed one larger piece. I added about 3mm tolerance to my measurements and included a 1cm seam allowance on each side of the rectangle.

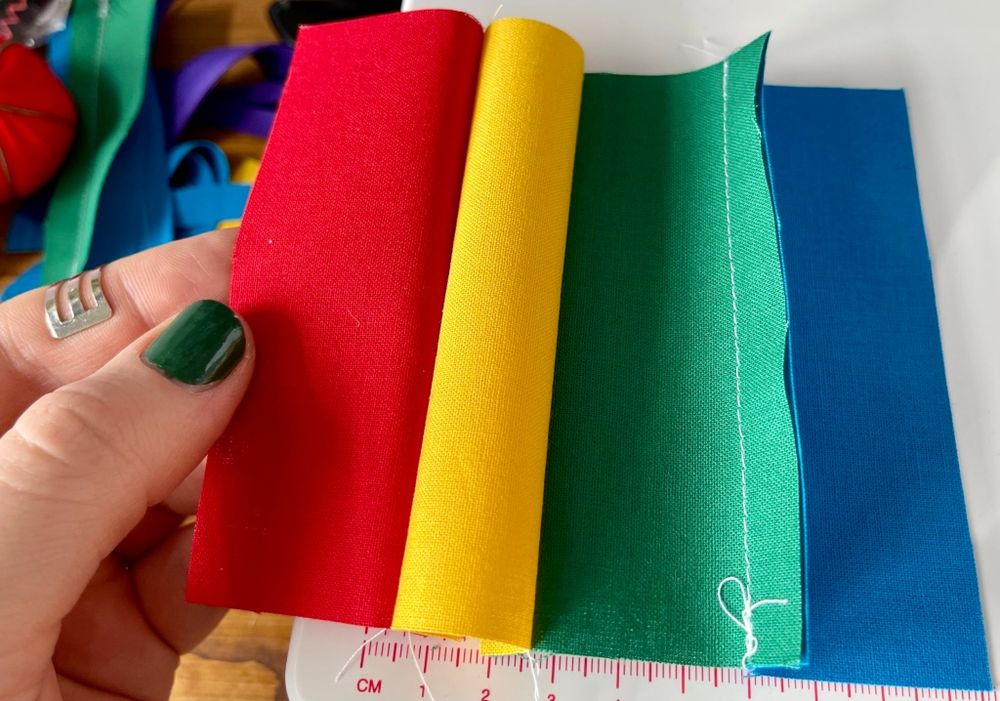
Once I had cut out all the rectangles, it was time to sew them together. The plan was to sew the red and yellow colours together, followed by green, blue, and then purple. Then go backwards to end up with red again. I only had to make sure that all the seams would end up on the same side. Naturally, one of my seams ended up on the other side.

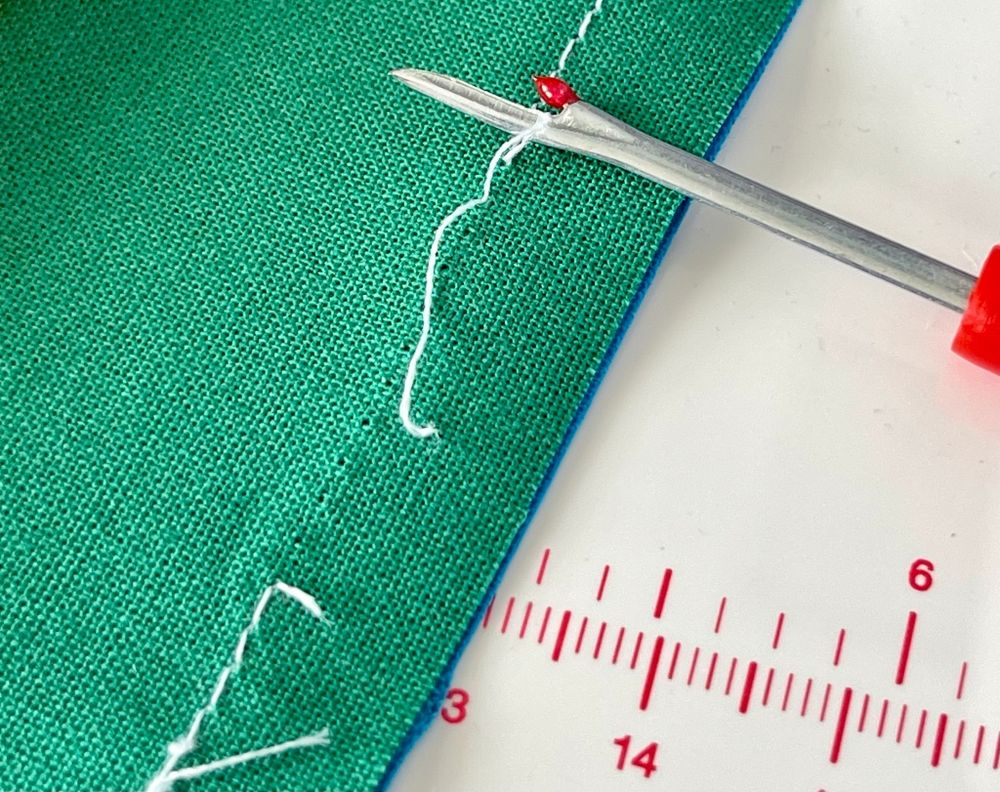
This meant I had to rip out the thread with the help of a little tool called a seam ripper. This tool looks like a two-pointed fork with one tine being a lot shorter than the other. The longer tine is used to get underneath the thread so it can then be cut at the root of the fork. It takes a bit of practise and patience.

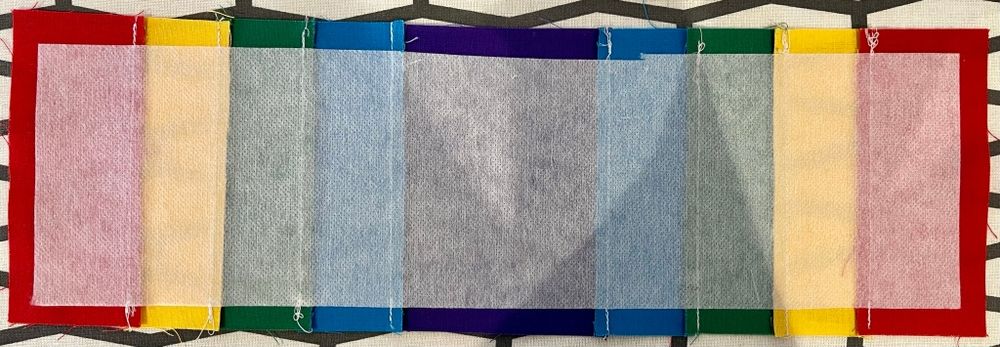
After this little setback, I sewed all the rectangles together without any further incidents and ended up with a single strip of rainbow-coloured fabric.

The strip had to be pressed flat with an iron. I decided to iron on some fusible interfacing to the wrong side of the fabric as well. Interfacing is used to make a piece of fabric a bit more rigid so it can keep its shape. Think of the collar of a shirt. Interfacing can be made out of either knitted or woven fabric and comes in two types: sew-in or fusible. Sew-in, as the name suggests, needs to be sewn while fusible needs to be pressed on with an iron.

Once the interfacing was pressed on, I put another piece of fabric over it as the lining. Think of the inside of your jacket, which might be made out of a thinner and more flexible fabric. This is known as the lining. In my case, I used a fabric of similar quality and thickness as the coloured one because I wanted the end product to be a bit sturdier. I folded the strip in half and sewed it together on the edges. I also added a rainbow-coloured ribbon to pull the phone out without having to shove my fingers into the sock.

All that was left to do now was to turn the whole thing inside out so that the lining would be on the inside of the sock and the coloured rows on the outside.

The phone sock was done. And to my surprise, my phone did fit inside. Hurrah!

Overall, I am happy with the result. But I would try something different for the top of the sock. My technique was messy and used a lot more thread than necessary. I think I can do something a lot neater looking next time around.
As a little bonus, I did a back-of-the-envelope calculation to figure out how much this project has cost me in terms of materials used. It came down to roughly 0.70 GBP. Not bad at all.